Creating your own aloe vera soap at home using the cold process method is a rewarding and eco-friendly way to harness the benefits of aloe vera for your skin. This recipe is suitable for beginners and results in a soothing, moisturizing soap with natural skin-whitening properties. This is for informational purpose only and is not Doodle Aloe Vera Soap's recipe (for obvious reasons!)
Safety First: Wear gloves, goggles, apron and long sleeves to protect yourself from the lye, which is caustic and can cause burns.
Work Area: Cover your work area with old newspapers or towels to protect surfaces from spills.
Ingredients: Measure out all the ingredients accurately using a digital scale
.In a well-ventilated area, slowly add the lye to the distilled water (never the other way around). Stir gently until the lye is completely dissolved. Allow the lye solution to cool to around 37-43°C (100-110°F ) . This process generates heat, so handle with care. (It is our experience at Doodle Soap that the best saponification happens when the atmospheric temperature is around 30-32°C. So if you are in a tropical place then you can allow the lye to cool for a few hours and let it reach room temperature)
In a large, heat-resistant bowl or pot, combine the olive oil, coconut oil, palm oil, castor oil, and shea butter. Gently heat the oils until fully melted and combined, then let the mixture cool to around 32°C. Shea butter and Mahua butter are in a solid state even at 30 °C. So you are better off warming the oils with a hot plate. It is enough if the oils are in a liquid state and blendable.
Add the prepared aloe vera gel and any essential oils or colorants to the traced mixture. Blend thoroughly until the additives are fully incorporated.
Pour the soap mixture into a prepared mold, tapping it gently to remove any air bubbles. If you live in a cold place , you have to cover the mold with wax paper or plastic wrap, then insulate with towels to maintain the heat and ensure proper saponification.
Leave the soap in the mold for 24-48 hours to harden. Once solidified, carefully remove the soap from the mold and cut it into bars. Place the bars on a curing rack or tray, allowing air to circulate around each bar. Let them cure for 4-6 weeks, turning them occasionally to ensure even drying.
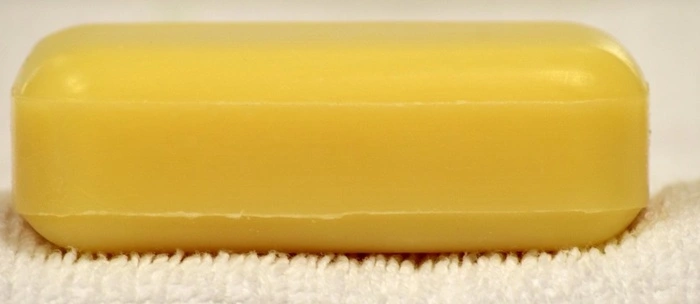
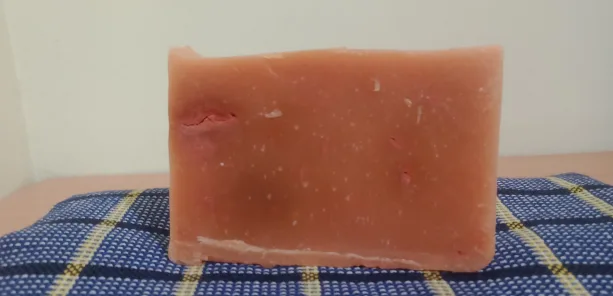
After curing, your aloe vera soap bars are ready for use. Store them in a cool, dry place until you’re ready to use or gift them.
Making your own aloe vera soap using the cold process method allows you to customize ingredients and avoid harmful chemicals found in commercial soaps.
This gentle, natural soap will leave your skin feeling nourished, moisturized, and brightened. Enjoy the process and the benefits of this homemade, skin-loving soap!
If all this is too much trouble for you we got your back! At Doodle Soapery we make the finest organic, cold process, handmade aloe vera soap at an affordable price of Rs 105 for 100g. Whatsapp : 90256 97739

We publish unbiased information on handmade soap, its benefits, disadvantages, how to choose your soap, various flavours of soap, their benefits and other useful information on handmade natural soaps.
We also publish well-researched informational articles on skin-care in general.
 Aloe Vera for Skin whitening
 DIY Aloe Vera Cold Process Recipe